


If you've been following around Tech Twitter lately, you've seen a lot of hype around Web 3.0. I certainly did.
I wrote my first smart contract in 2018. I created my own crypto token with some friends with the ERC-20 standard and deployed it onto the Ethereum blockchain. After this, I lost interest and wasn't following what was happening until now.
So I wanted to get back into Solidity and the Ethereum ecosystem.
What is a Smart Contract?
If you google it, the first result is going to look like this:
A smart contract is a self-executing contract with the terms of the agreement between buyer and seller being directly written into lines of code. Source: Investopedia.
This looks like we're developing a legal document between two persons.
Here is another quick explanation:
Smart contracts are simply programs stored on a blockchain that run when predetermined conditions are met. Source: IBM
This one hits home a tad bit better. So smart contracts are programs that are stored on the blockchain that execute when you call them. If the conditions are not met, the program fails. For example, if you would be buying a laptop from me, which would cost 1 ETH, and in your wallet you only have 0.5 ETH, the execution of this contract would fail. But if you would have 2 ETH, it would execute without an issue.
Now we understand what a Smart Contract is, let's create one.
For implementing Ethereum Smart Contracts we use a programming language called Solidity. It's an object-oriented programming language, which looks similiar to C++, but its influences also come from Python and JavaScript.
Using Remix to build our hello world
Hello world!
Head on over to Remix (remix.ethereum.org). You should see something like this:
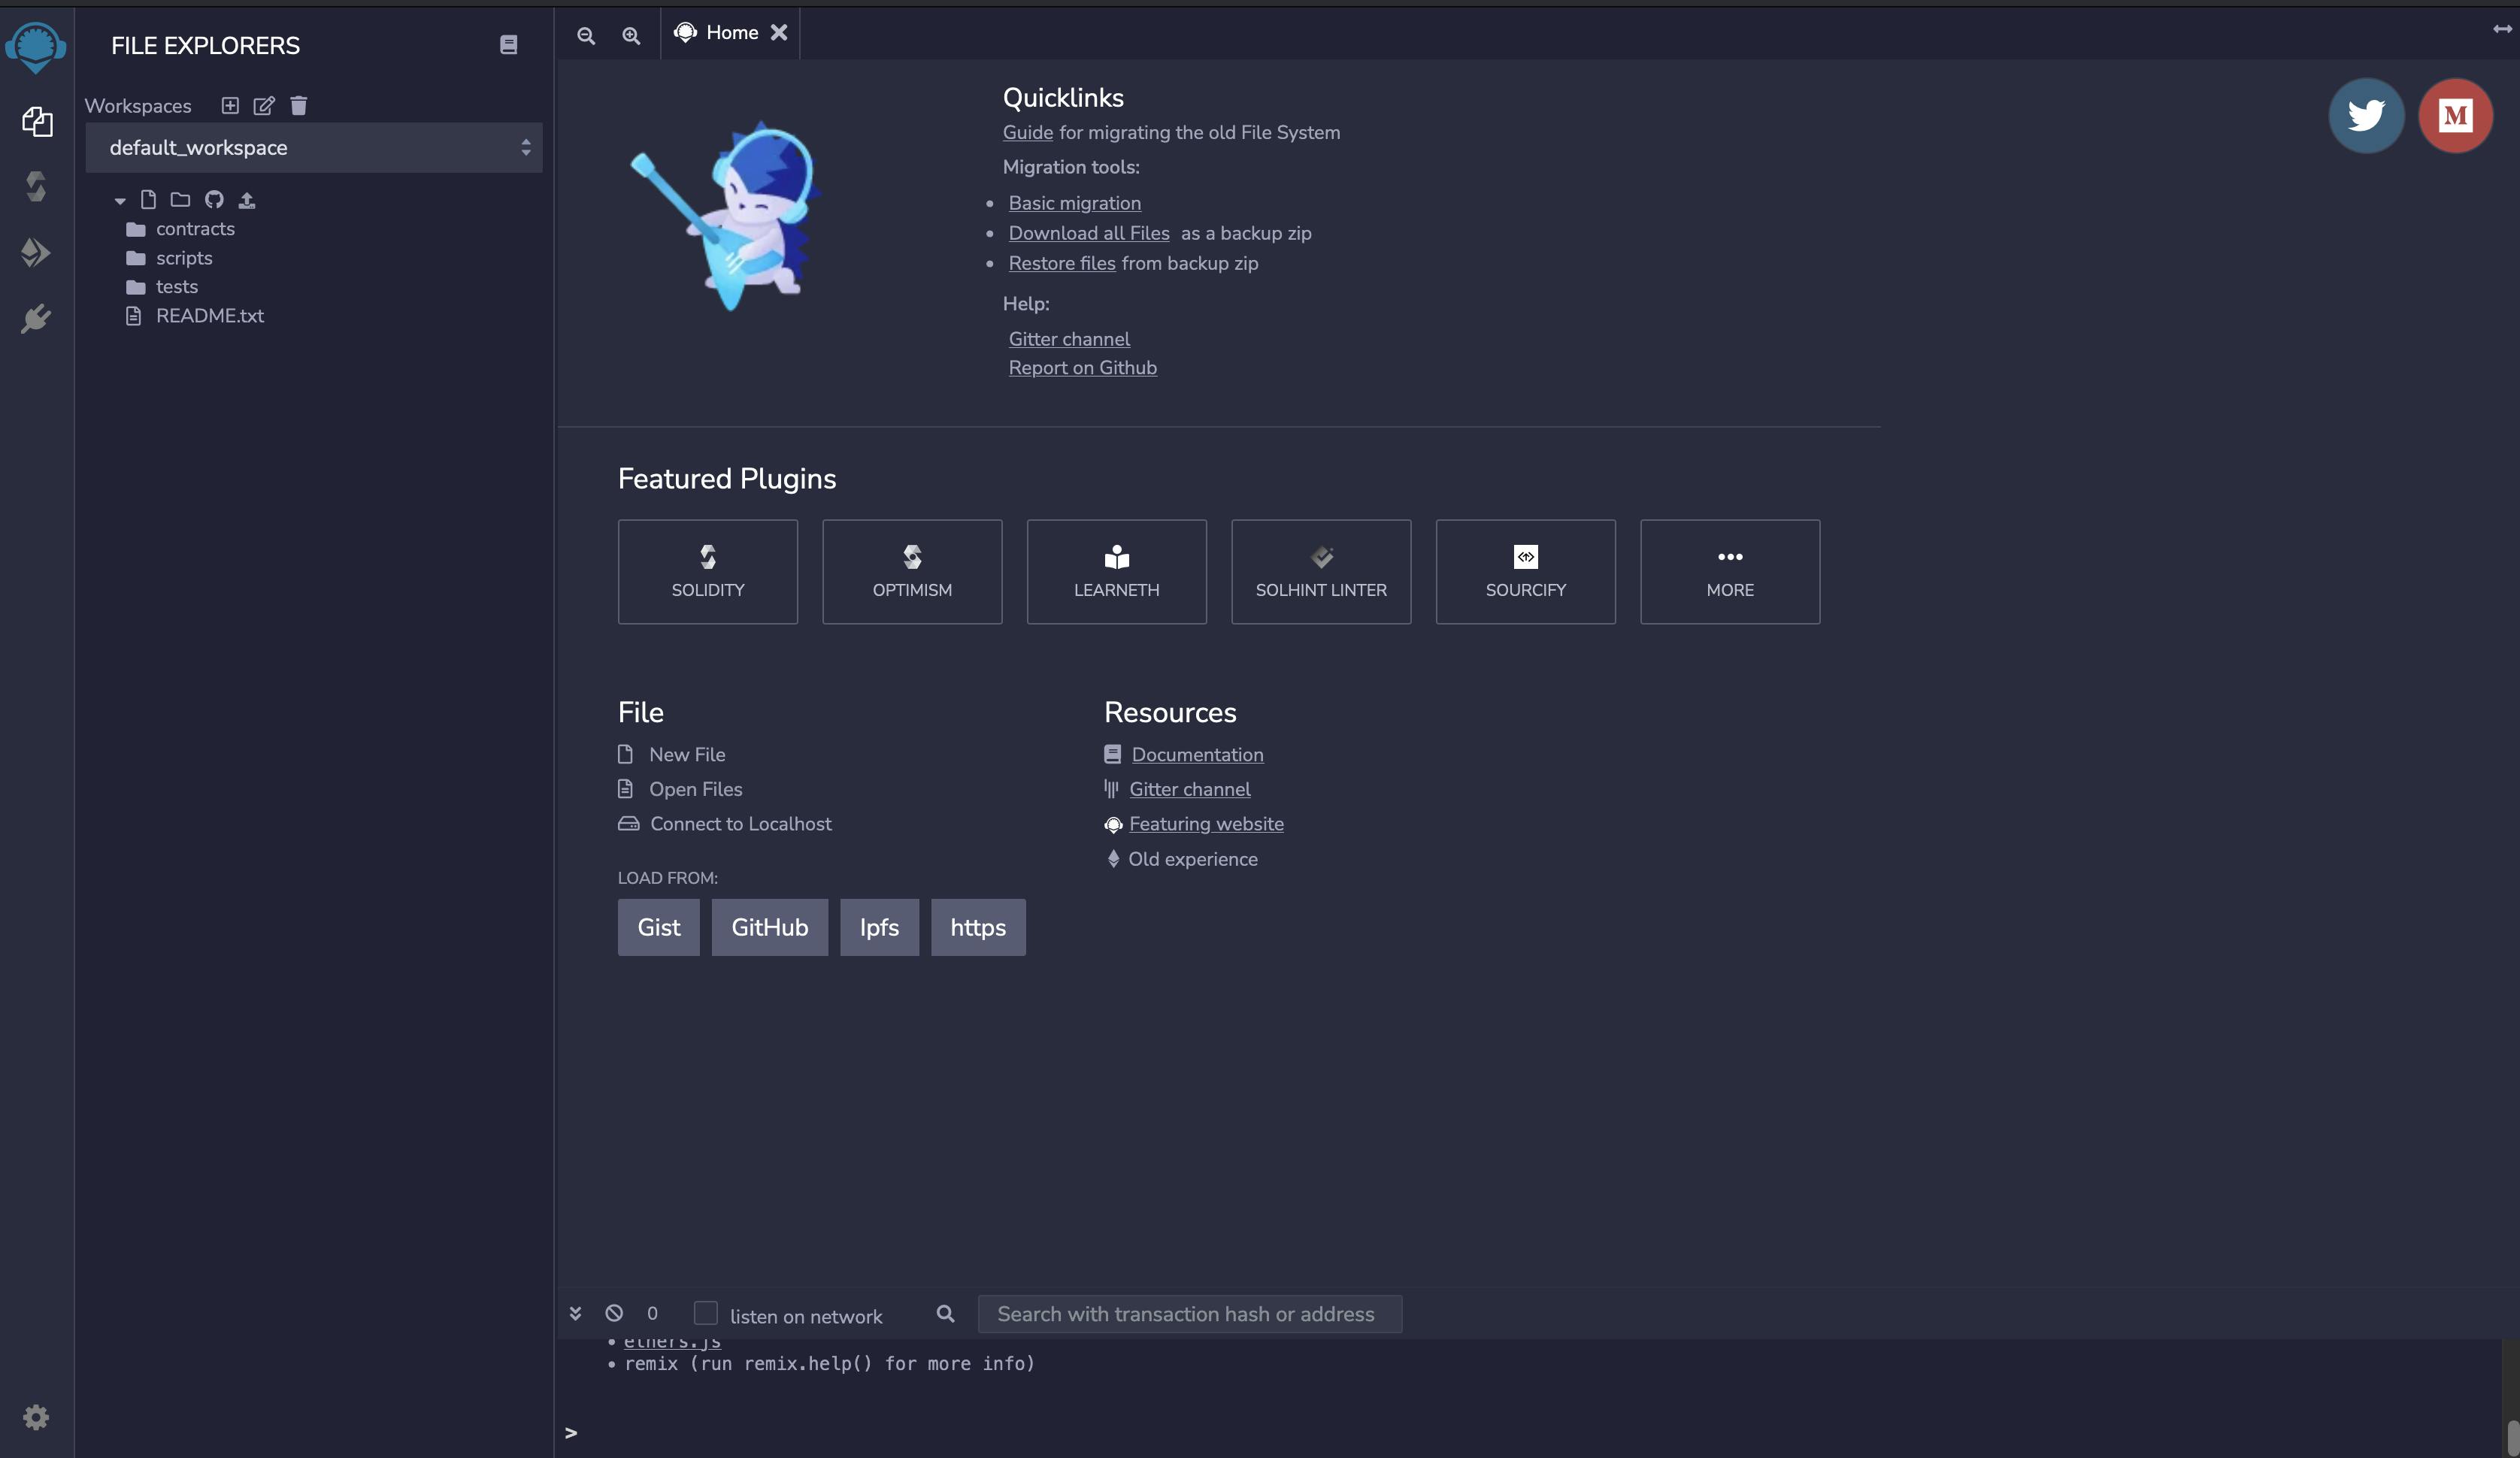
Welcome to Remix! Let's quickly run what we have here and see if everything executes as it should.
You can see folders named:
contractsscriptstests
Go to contracts and remove everything inside that folder, so we get a fresh start.
Create the contract
Let's say we wanted to build a raffle system. Let's create a new file called Raffle.sol under contracts and type in the following:
// SPDX-License-Identifier: UNLICENSED

pragma solidity ^0.8.0;

import "hardhat/console.sol";

contract Raffle {
    constructor() {
        console.log("Hello world");
    }
}
To quickly explain this, the first line // SPDX-License-Identifier: UNLICENSED is a license identifier. Smart contracts should be open source. This is encouraged due to copyright laws.
The pragma statement is here for feature checks. It indicates which compiler versions are supported. In our case it's solidity version 0.8.0 and above.
The next bit is an import statement, this one imports something called console.sol, which enables console logs in solidity files, making them easier to debug during development.
The main part of our program happens inside of the contract Raffle {}. If you're familiar with object-oriented programming, it's a lot like a class. Inside of this, we have a constructor, which runs when we deploy this contract and prints out "Hello world."
Compile
Click the second icon on the left, then on the bottom of a tab, you should see a button that says COMPILE to compile this contract. To verify the compilation, we should see a new folder called artifacts inside of contracts:
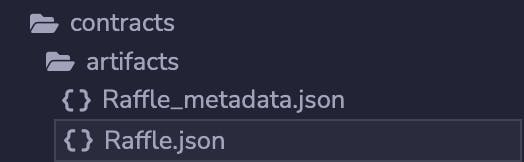 This is what our smart contract compiles to and this is what we deploy to the Ethereum blockchain!
Deploy
To deploy our contract, click on the third icon on the left panel. It should say Deploy & run transactions. Make sure that under Contract dropdown you have the correct one selected:
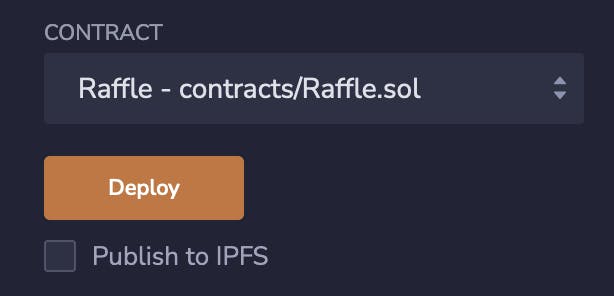
And now click deploy! You should see something like this:

This indicates you have correctly built and deployed the smart contract onto your local Ethereum virtual machine!
Give yourself a round of applause! You deserve it 👏
Conclusion
This is the first part of my journey through learning Solidity and ethereum. Over the course of the next couple of blog posts, I'll be bringing the Raffle system to life by adding actual logic to it!
Thanks for reading! 👋