How to draw basic geometry in Processing
Learn how to draw a rectangle, circle & ellipse, and a triangle.
In this guide, we will explore how to use shapes in Processing. First, we will draw three shapes on the screen, then change their colors and strokes!
Let's get our hands dirty! 💨
Rectangle ⬜️
First, we will start with a rectangle, a geometric element with four points. The other way to define a rectangle is width, height, and a starting X and Y position, precisely how it is defined in Processing.
We have to use the rect function to draw a rectangle. This function accepts four parameters:
- x position
- y position
- width
- height
The function signature of a rectangle looks like this:
rect(x, y, width, height)
Let's draw a rectangle:
void setup() {
  size(600, 600);
}

void draw() {
  background(0);
  rect(mouseX, mouseY, 100, 100); // Our rectangle!
}
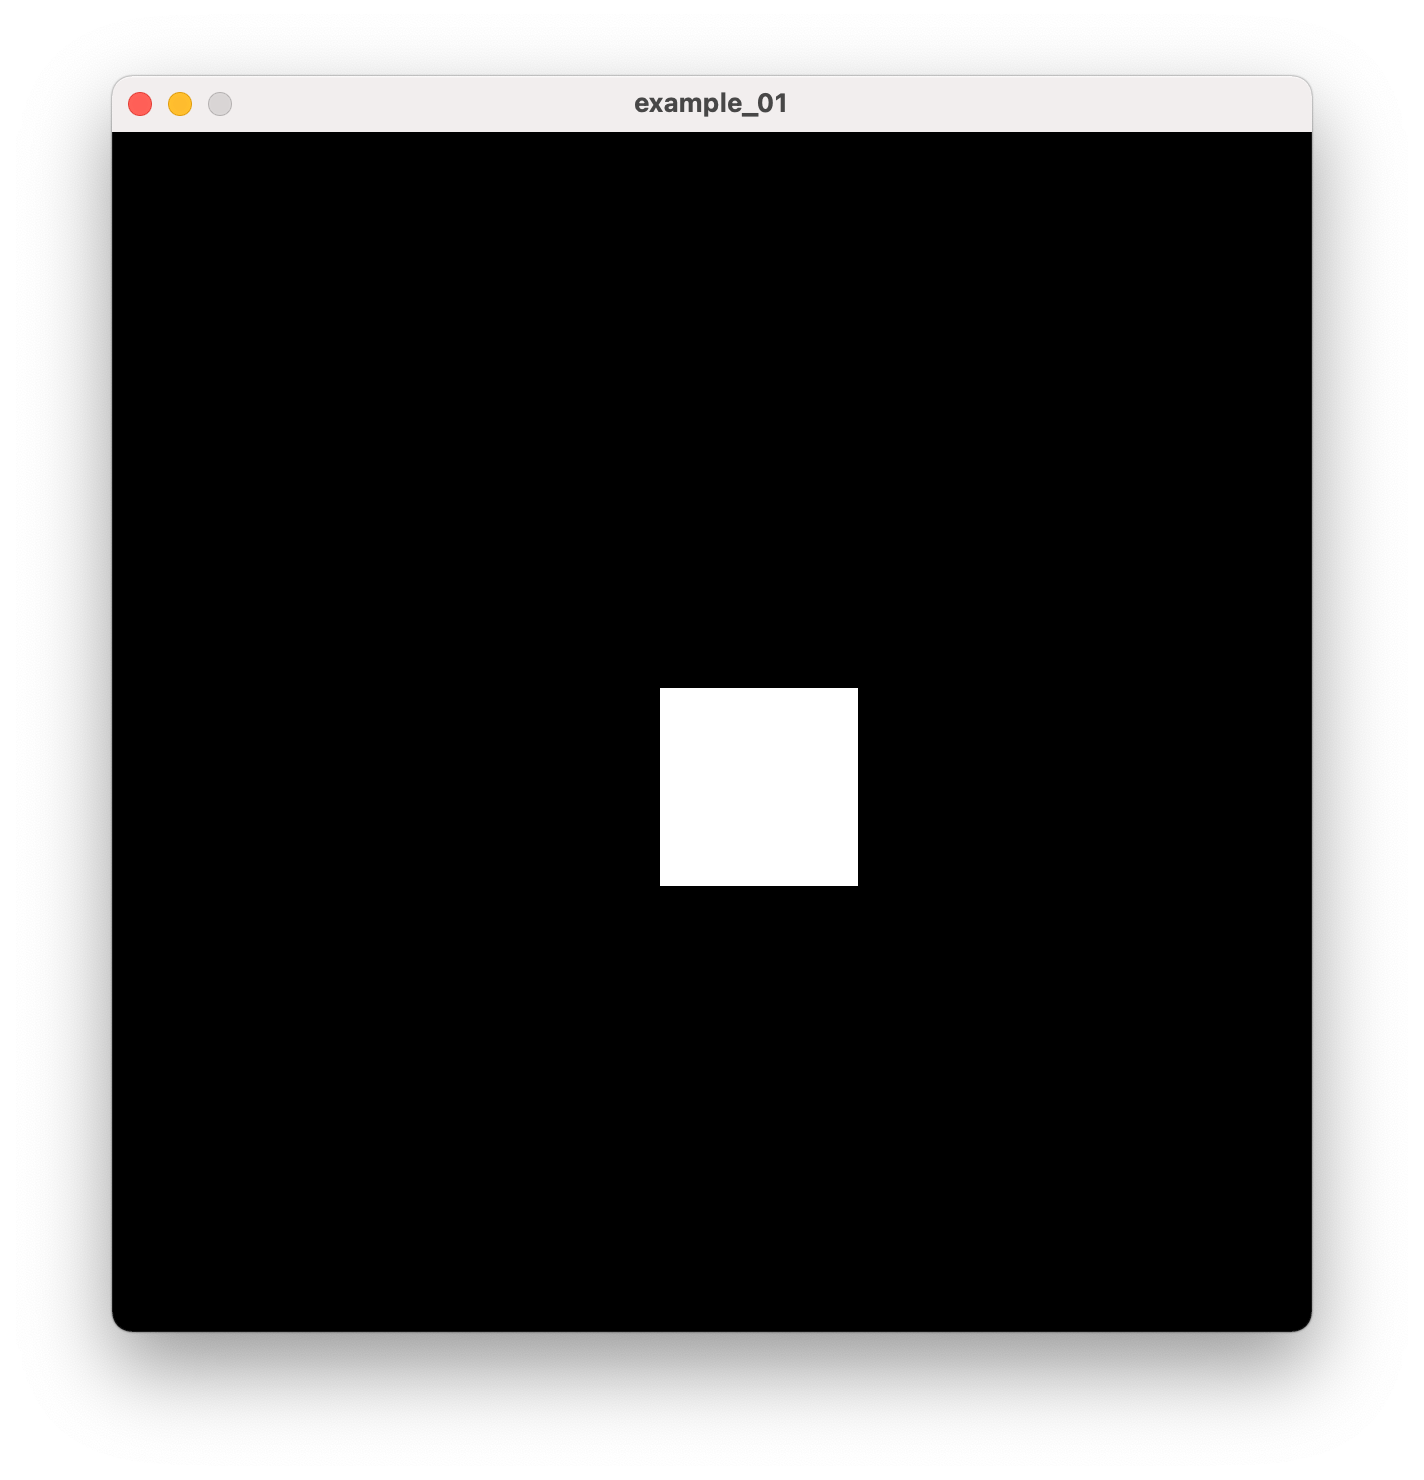
The first two arguments (mouseX, mouseY) are global variables set to our mouse pointers' current position. That means if you move your mouse around, the rectangle moves with it.
The last two arguments set the rectangle's width and height to the value of 100.
This sketch draws a rectangle that follows your mouse around. And the result of the sketch looks like this:
rectMode
At first, it seems a bit surprising that the rectangle is not centered on our mouse. The reason is due to something called rectMode.
By default, rectMode is set to CORNER. When rectMode is set to CORNER, the rectangle shape starts drawing from the top left corner.
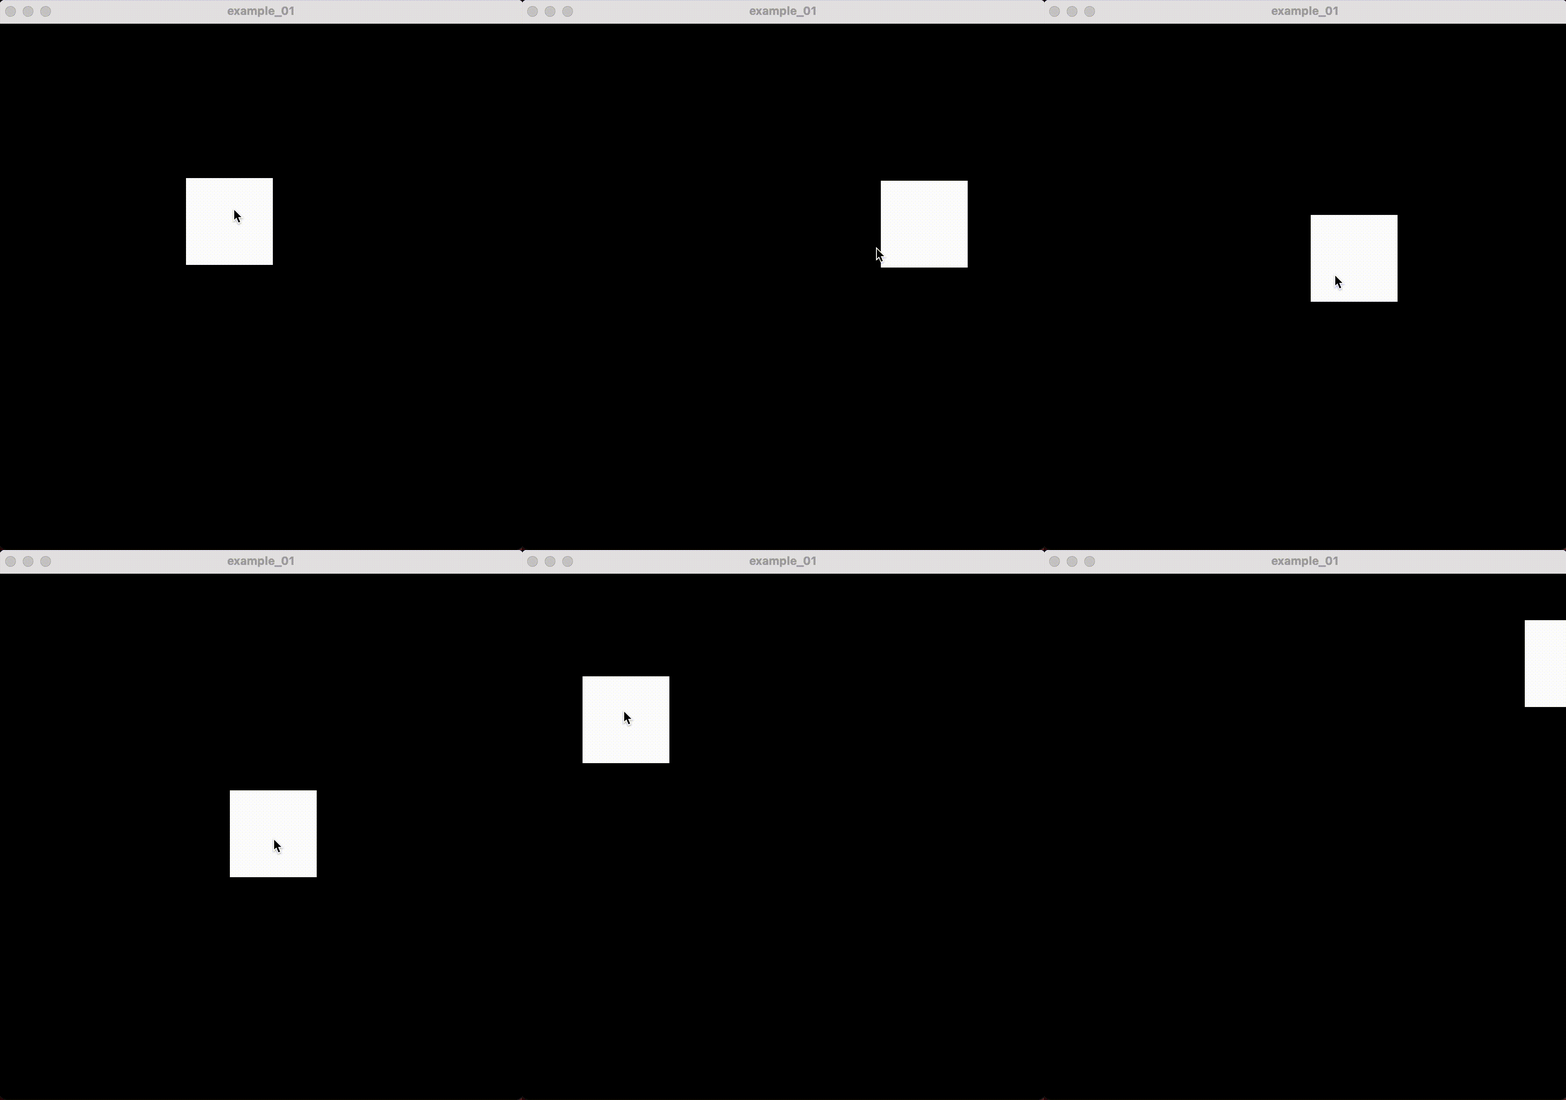
To start drawing it from the center, we have to set the rectMode to well... CENTER:
rectMode(CENTER);
Let's draw our rectangle again, but this time let's start drawing in the center:
void setup() {
  size(600, 600);
}

void draw() {
  background(0);
  rectMode(CENTER); // Start drawing from the center
  rect(mouseX, mouseY, 100, 100); // The rectangle
}
The result of this:
To learn more about rectMode and its possibilities, check this processing.org/reference/rectMode_.html
Circle & Ellipse ⚪️
Next, we will look into circles & ellipses. I grouped them because they are very similar shapes.
First, we'll explore the circle!
Circle
The circle is a geometric element that has 0 corners. A circle is a group of points that are equally far away from 1 point (the center).
To draw a circle, we have to pass the following arguments to it:
- x position
- y position
- extent (width & height of the circle)
The function signature looks like this:
circle(x, y, extent);
Let's draw a circle that follows our mouse:
void setup() {
  size(600, 600);
}

void draw() {
  background(0);

  circle(mouseX, mouseY, 50);
}
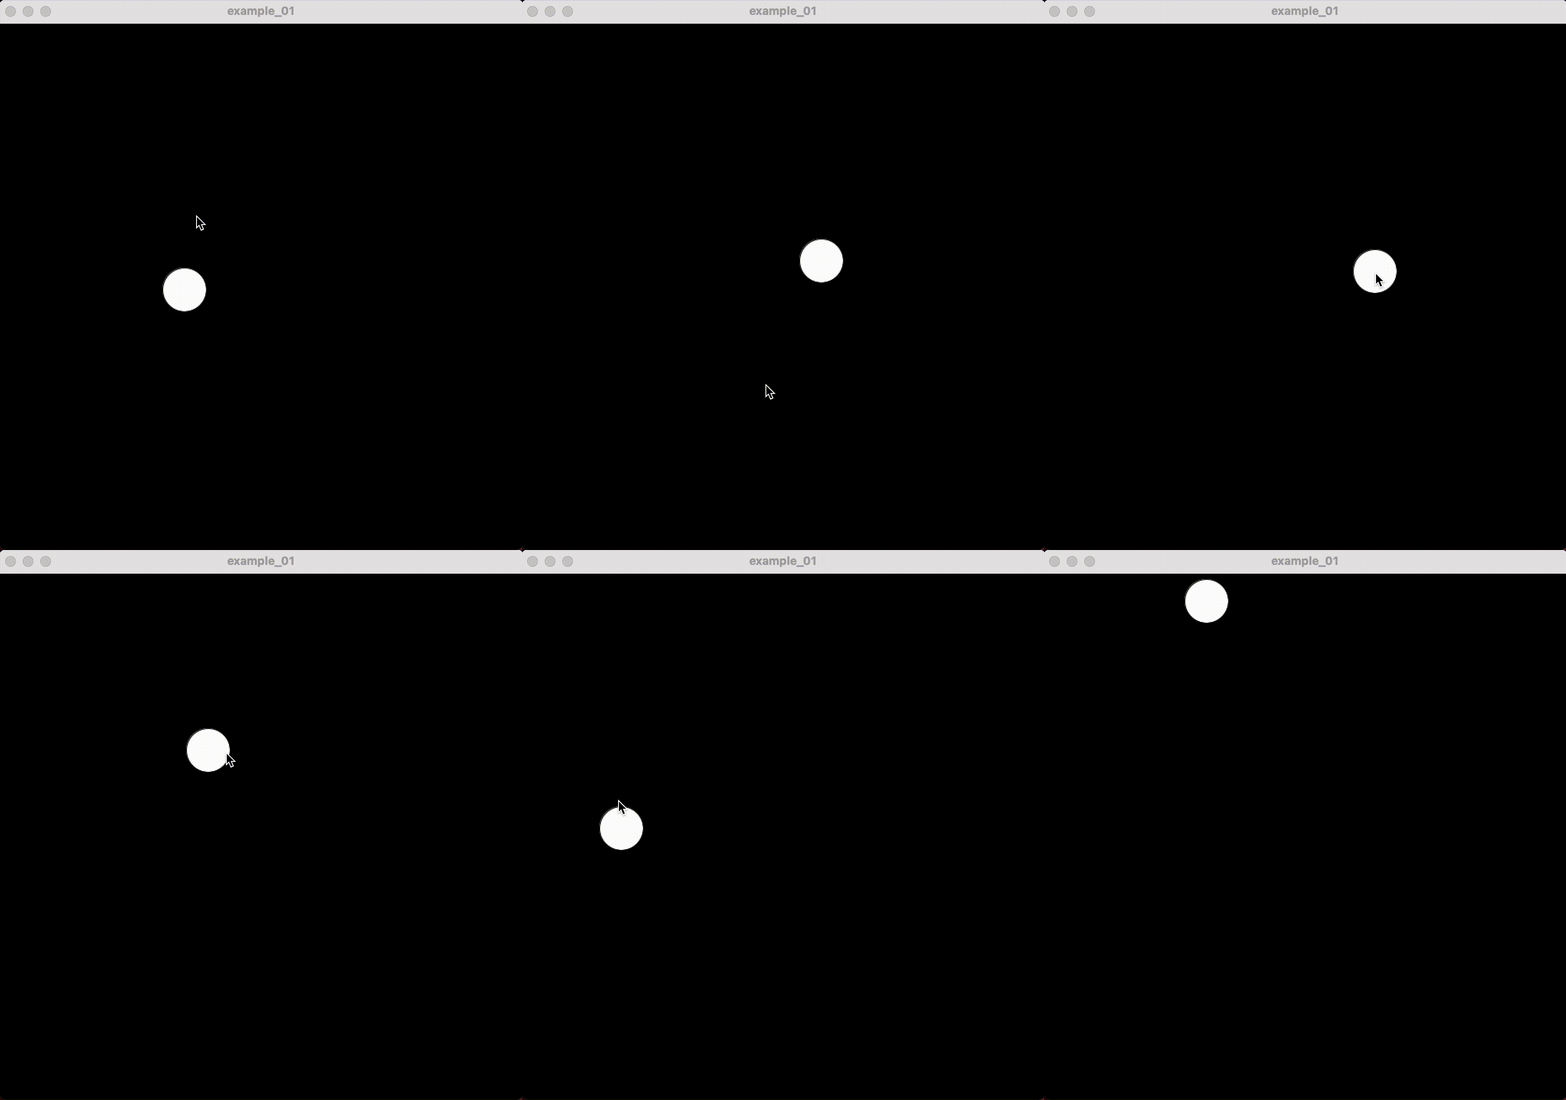
As before, we're using mouseX and mouseY to describe the circle's position. mouseX is the X position of our mouse and mouseY is the Y position.
The sketch looks like this:
Ellipse
There's not a lot of difference between the circle and ellipse. The only difference is that our width and height are defined separately. Separating them allows us to control the shape in more detail.
The function to draw an ellipse accepts the following arguments:
- x position
- y position
- width
- height
And the function signature for an ellipse is this:
ellipse(x, y, width, height);
Let's draw an ellipse:
void setup() {
  size(600, 600);
}

void draw() {
  background(0);

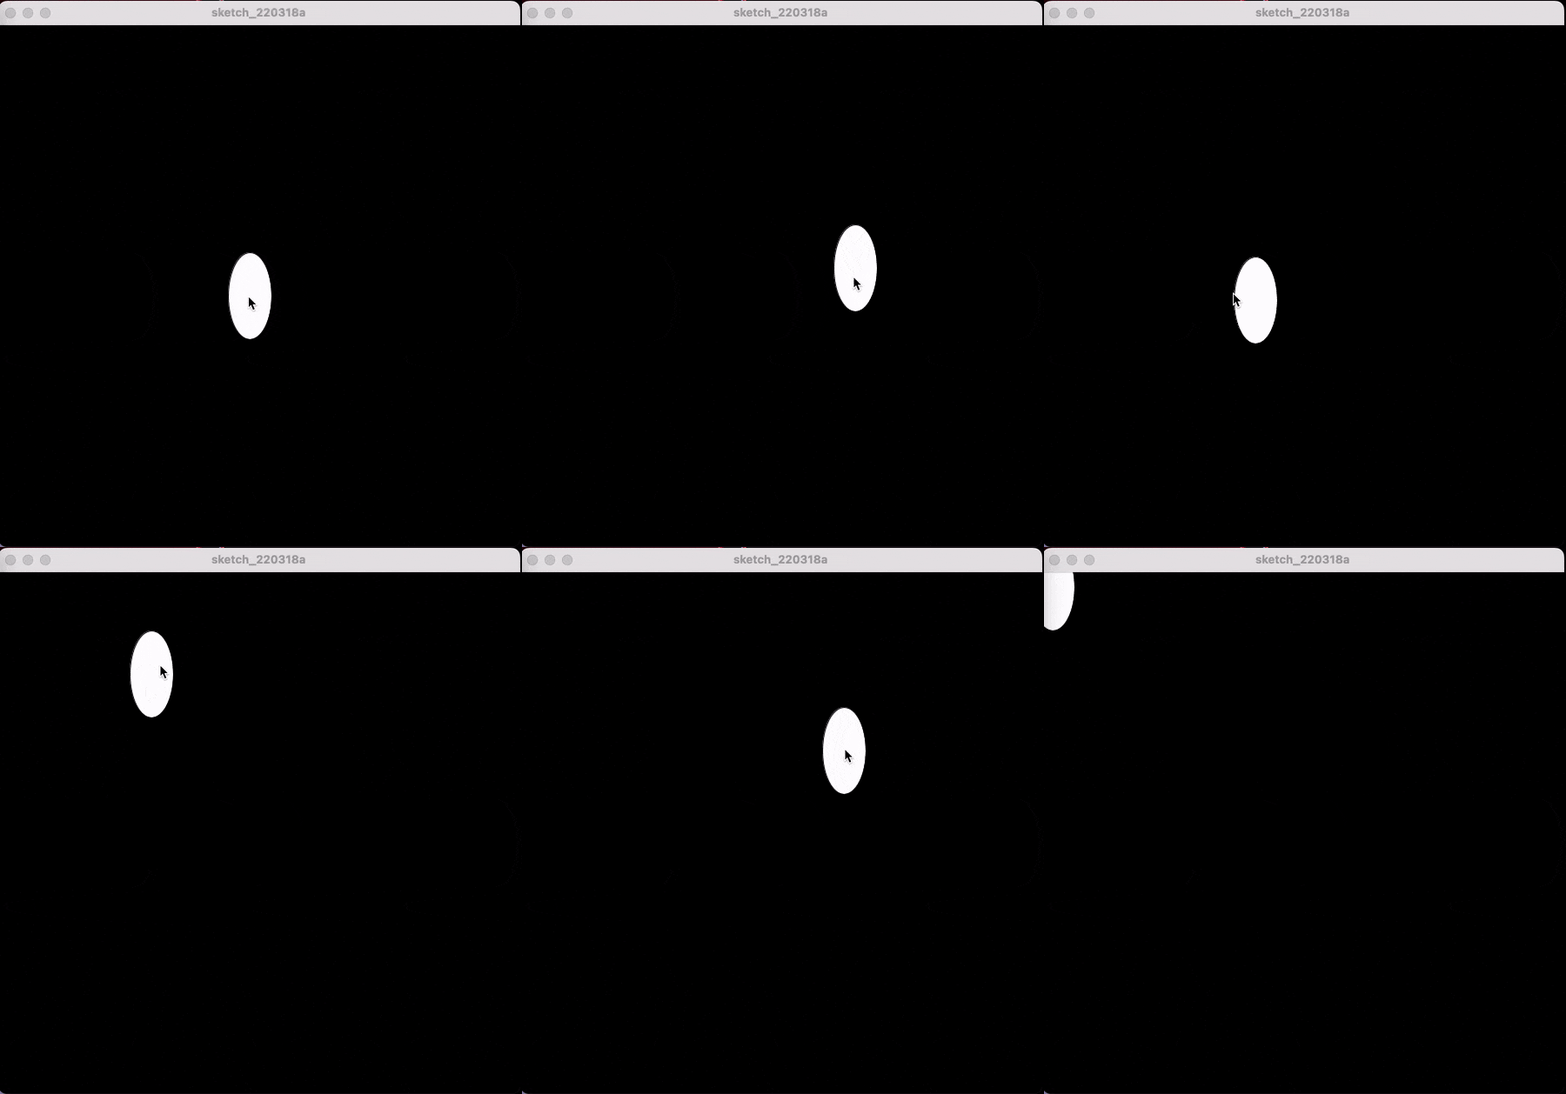
  ellipse(mouseX, mouseY, 50, 100);
}
We have drawn an ellipse, which has its X position set to mouseX and Y position to mouseY.
The ellipses width is defined by the third parameter, which is 50 pixels and its height is defined by the fourth parameter which is 100 pixels.
ellipseMode
Like with rectangles having rectMode, ellipses and circles have ellipseMode, which defines from where the shape is being rendered.
The default value of ellipseMode is CENTER. So that is why it's rendered in the center.
If we want to render it the same way as the rectangles, we can set it to CORNER:
void setup() {
  size(600, 600);
}

void draw() {
  background(0);
  ellipseMode(CORNER);
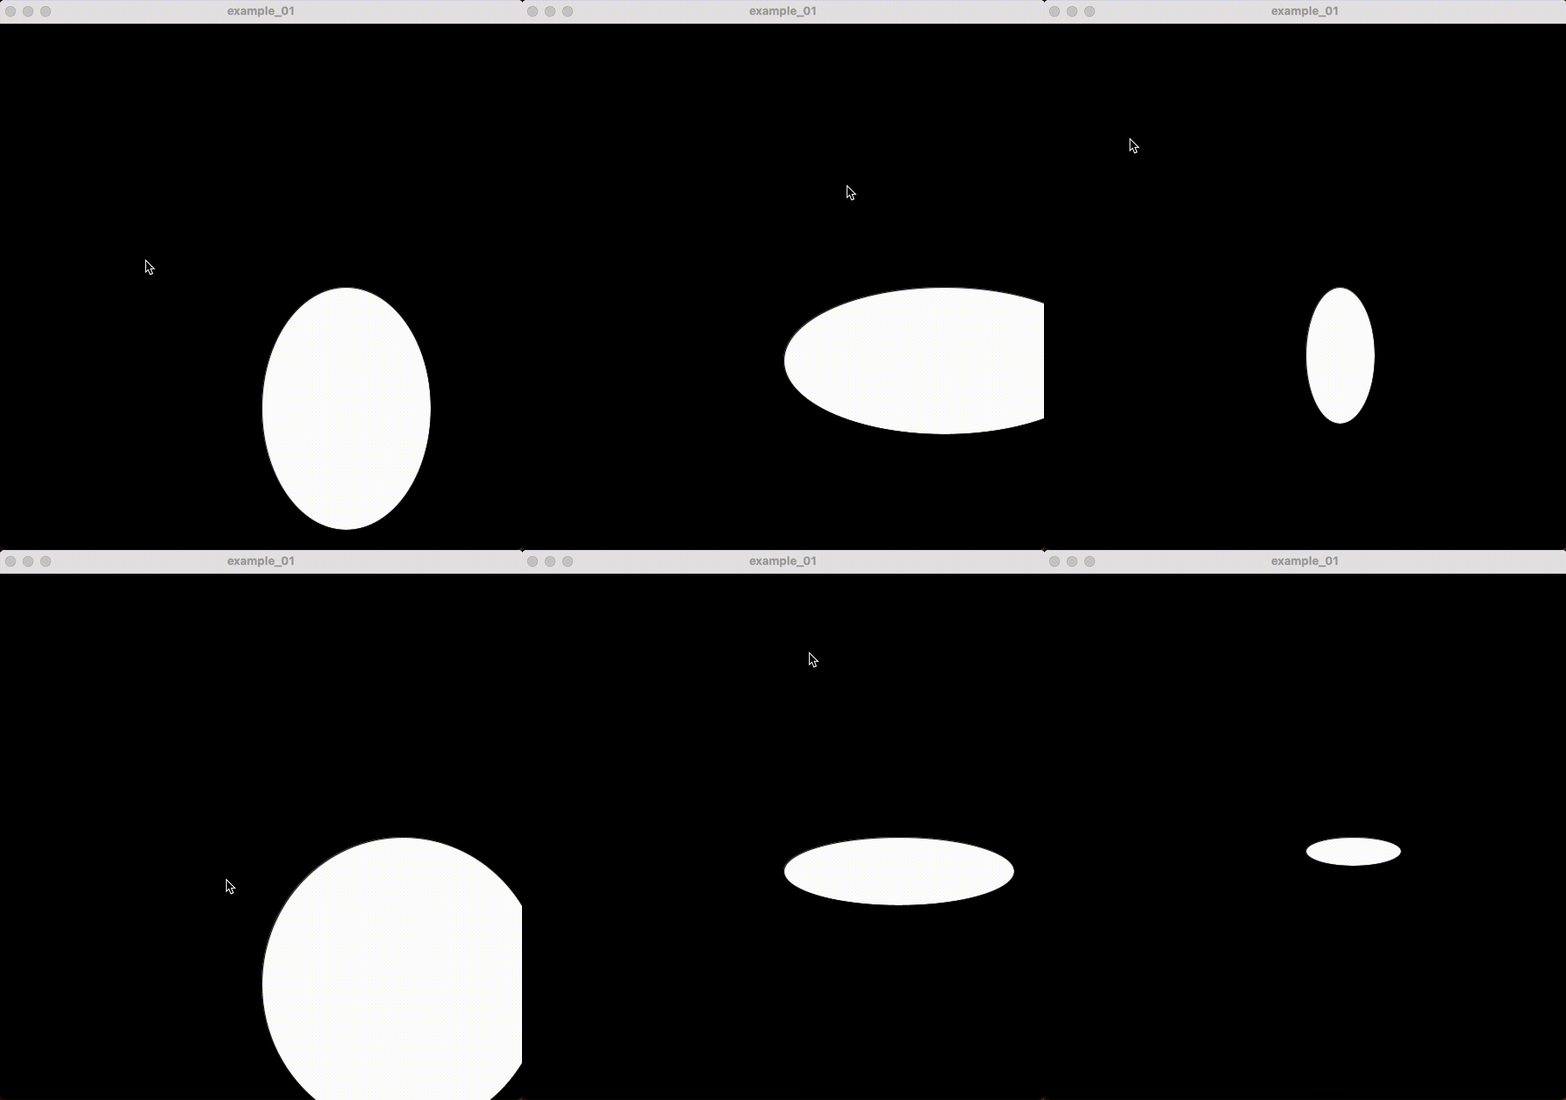
  ellipse(width / 2 , height / 2, mouseX, mouseY);
}
This results in the ellipse starting to render in the middle of the screen:
If you want to learn more about ellipseMode, check here: processing.org/reference/ellipseMode_.html
Let's move to our final shape. That is the triangle!
Triangle ▲
So the final shape we're going to explore is the triangle. Three different points on the grid describe the triangle. These points have different x and y coordinates.
The function that describes the triangle in Processing looks a bit different from the other two since it has six arguments:
- x position of the first point
- y position of the first point
- x position of the second point
- y position of the second point
- x position of the third point
- y position of the third point
The function to display the triangle is this:
triangle(x1, y1, x2, y2, x3, y3);
Let's sketch with a triangle:
void setup() {
  size(600, 600);
}

void draw() {
  background(0);

  triangle(200, 200, 200, 400, 400, 400);
}
This draws a triangle, with the first point being the top-middle one (x = 200, y = 200) the second point is the bottom left one (x = 200, y = 400), and the third one the bottom right one (x = 400, y = 400).
The output of this sketch:
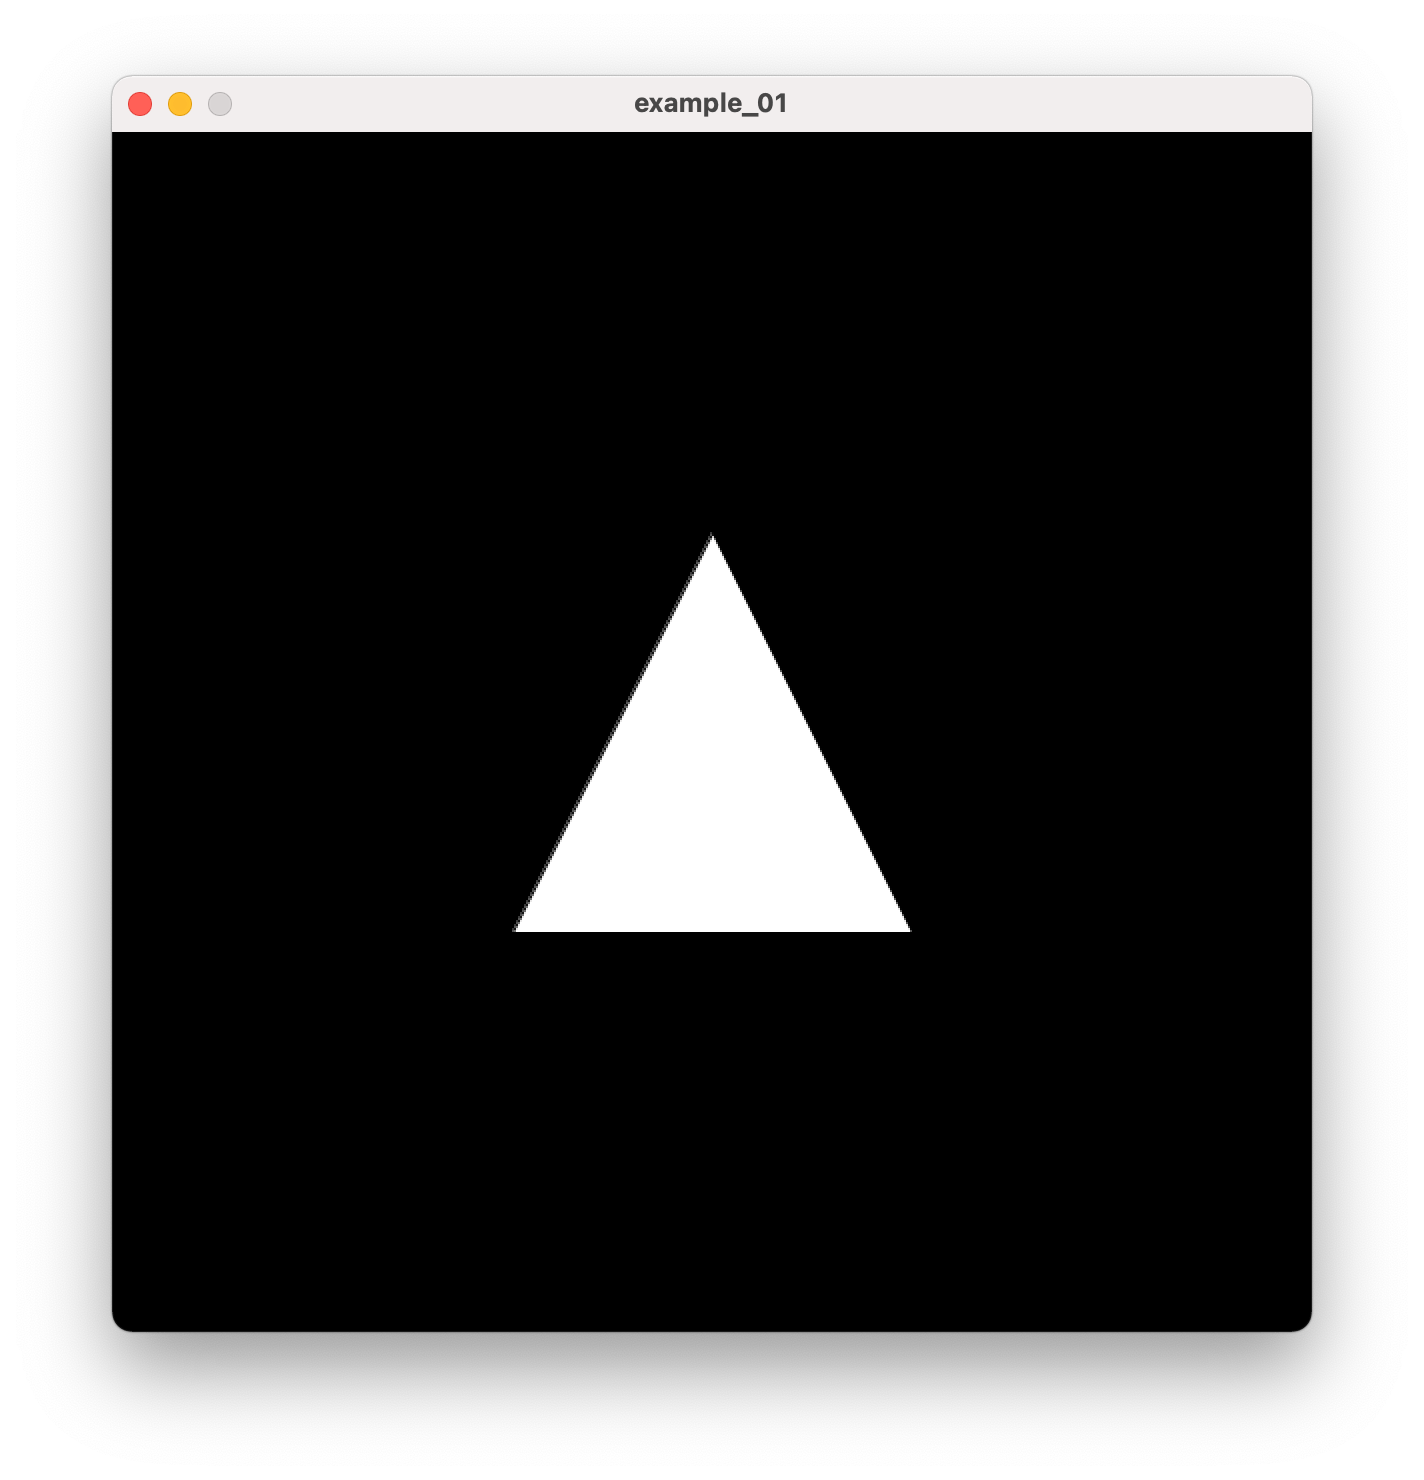
This drawing concludes the final shape! And since points define it, we determine where it starts drawing. Thus, we do not need a function called triangleMode!
And we're done! 🎉
Conclusion
We've learned how to create the basic shapes to get you started! There are a million ways to use these simple shapes to create complex sketches in Processing! Use them, bend them and break them to your will!
If you liked this post, you could also check out my other socials:
